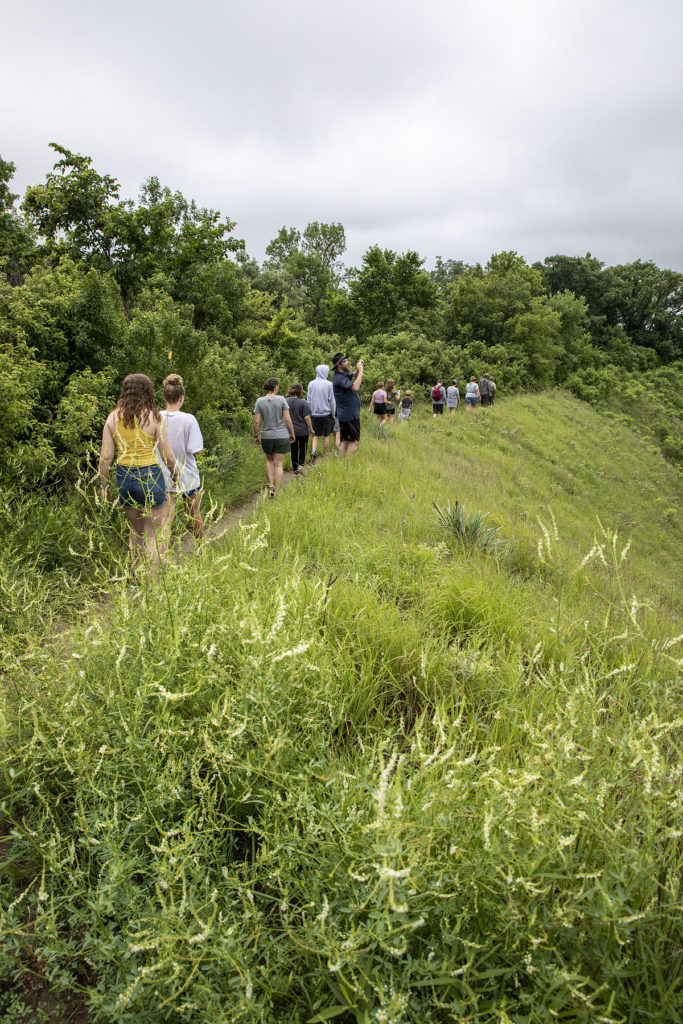
Feel like a nice summertime hike? Then join me for a photography hike at Waubonsie State Park at 6:30 p.m. on Wednesday, August 4 – we’ll explore the scenic Ridge Trail and talk about nature photography, which is a wide, WIDE subject!
I certainly don’t have all the answers about capturing the deep beauty of the great outdoors, but here are a few tips that have helped me improve my own nature photos:
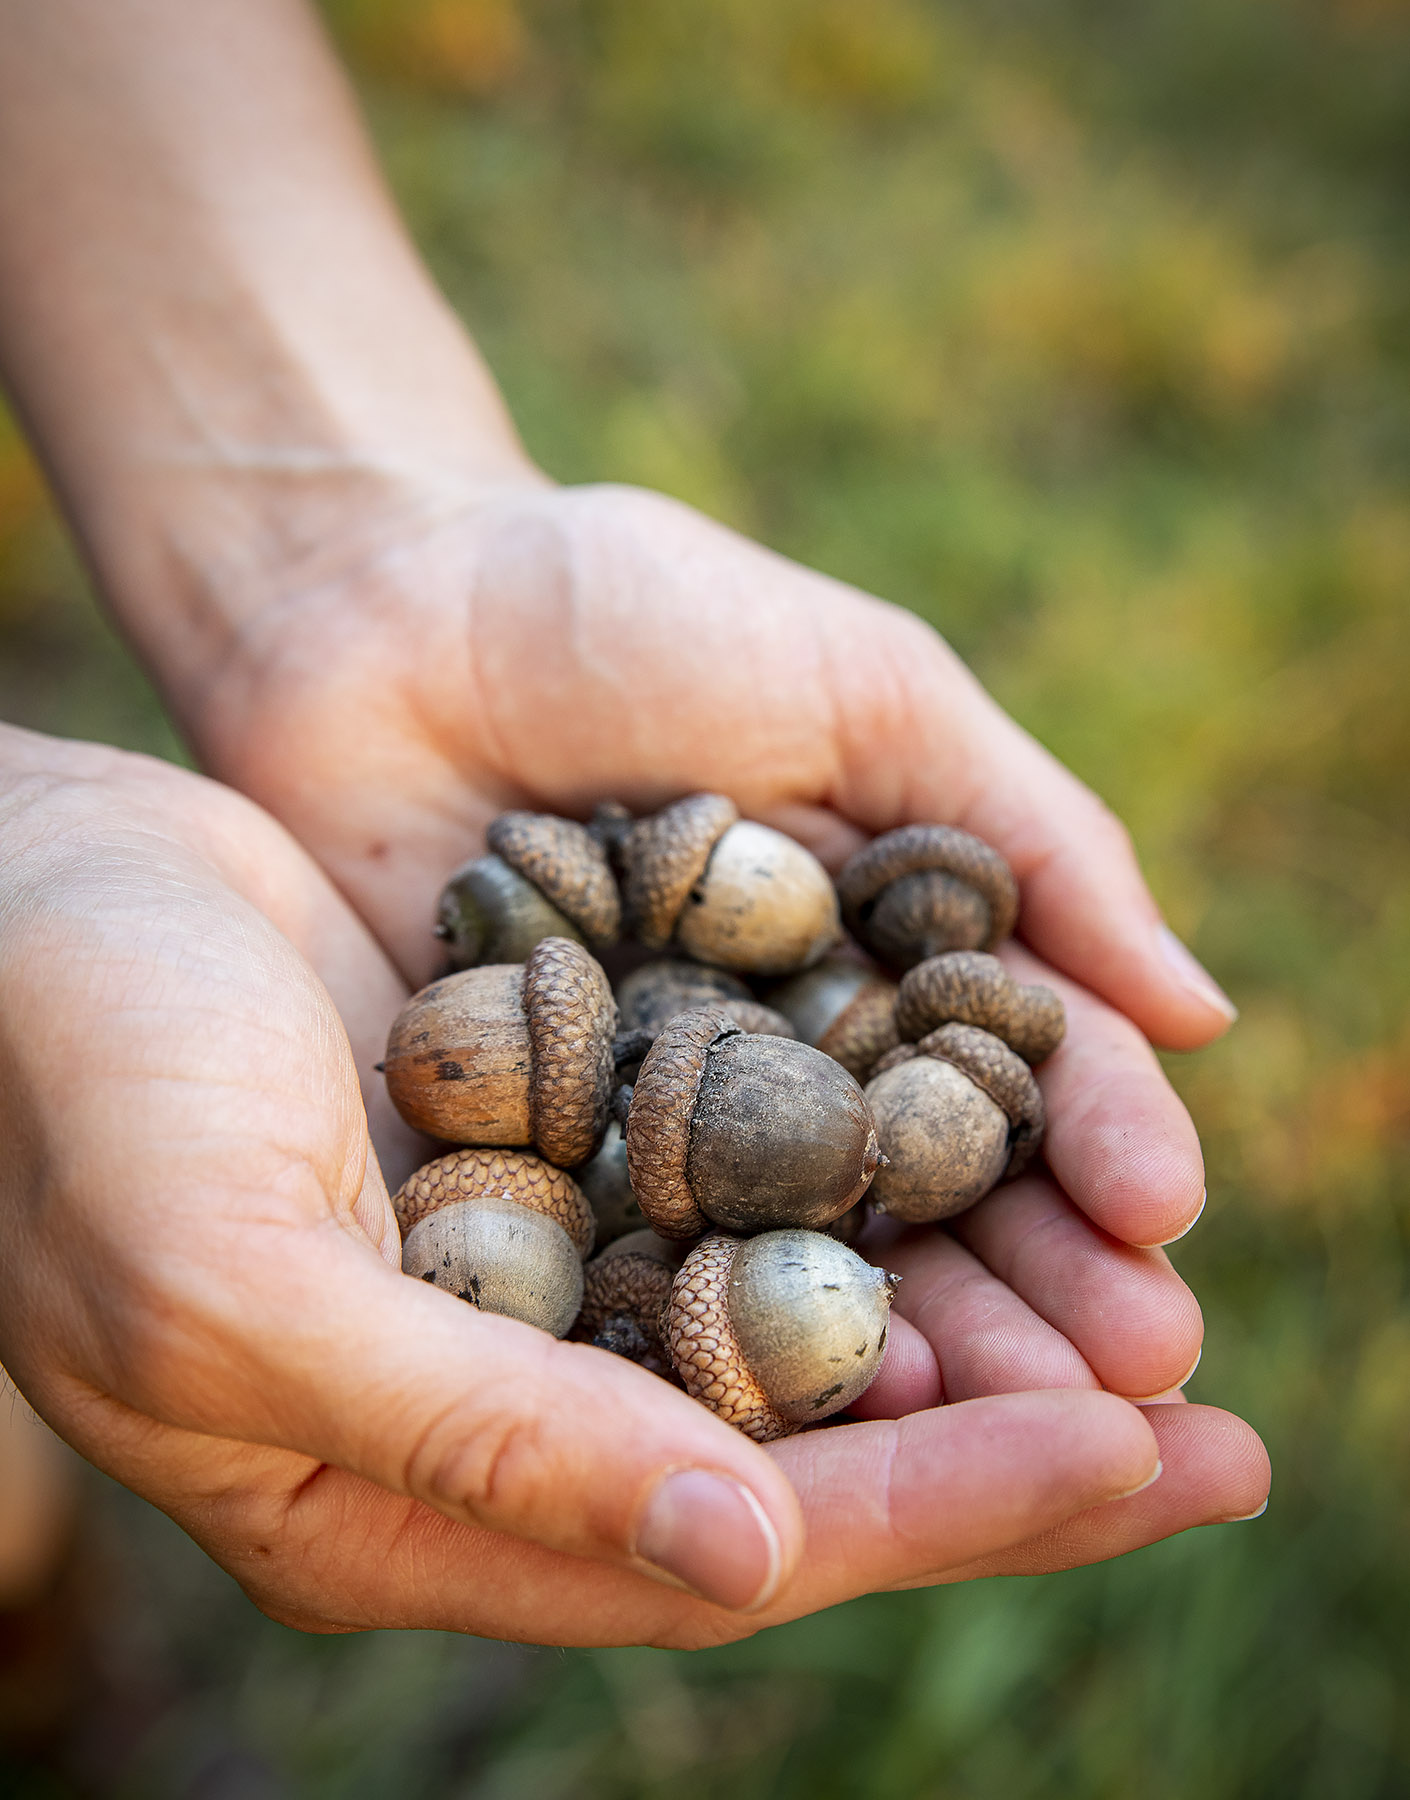
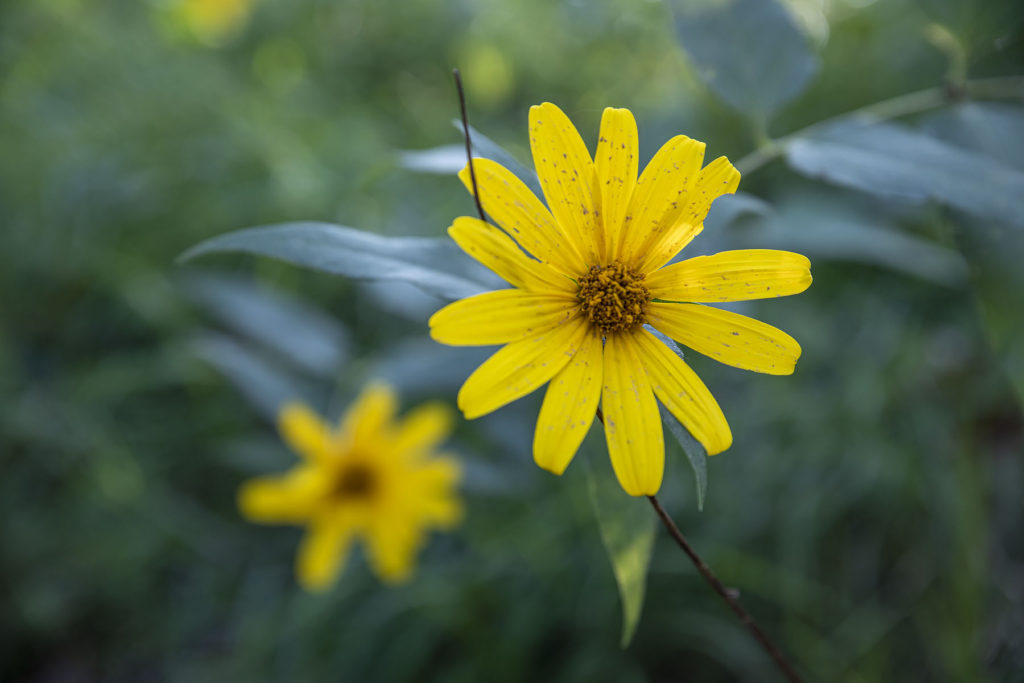
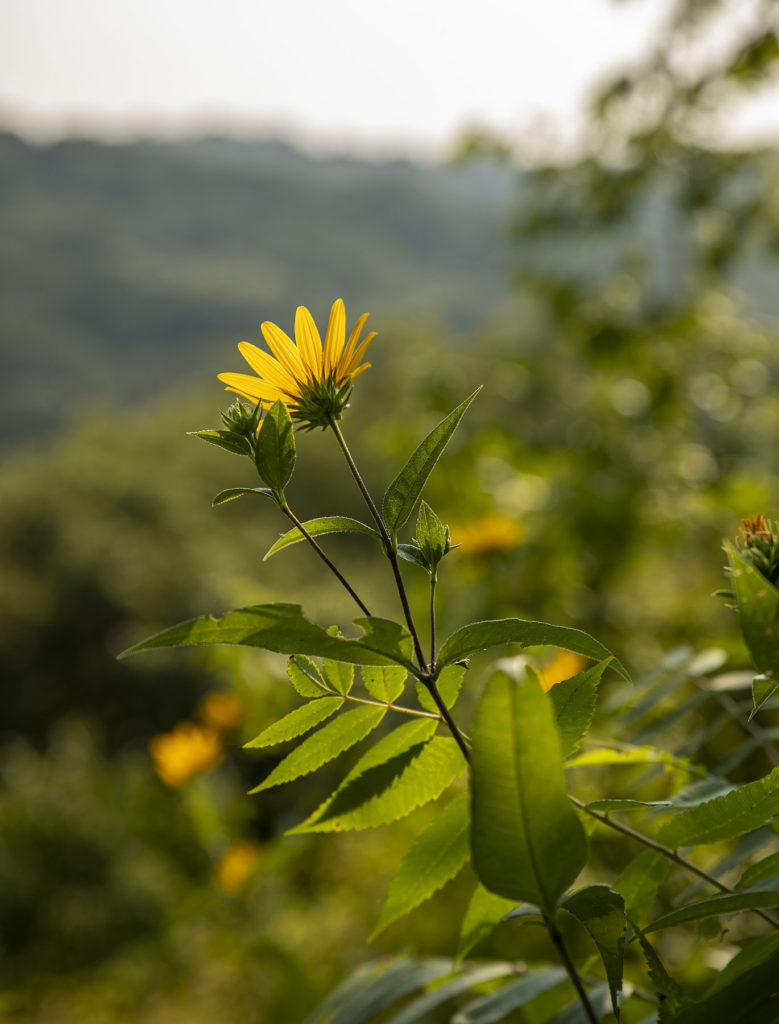
Decide what your photo is really about
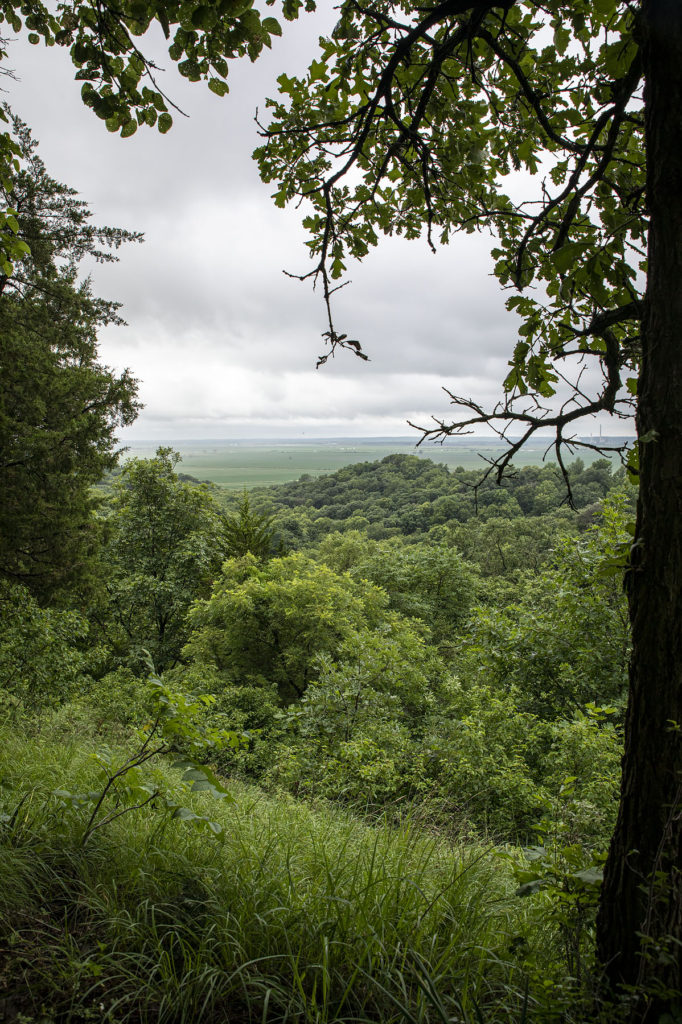
It’s easy to be struck by the entirety of a beautiful scene – the scents, the sounds, the season – but end up with a photo that doesn’t capture that experience. To avoid that, take a minute to think about what in particular is special about what you’re seeing: is it wide open evening sky? The movement of the wind in the trees? The color of the flowers? A general sense of spaciousness, of freshness, of peace, of mystery?
Then consider what kind of photograph could convey those feelings – a wide panorama with the sky and the land, or maybe a vertical shot of the path ahead of you, or even a close-up of some blossoms. That thought process can help you narrow down what the subject of your photo really is.
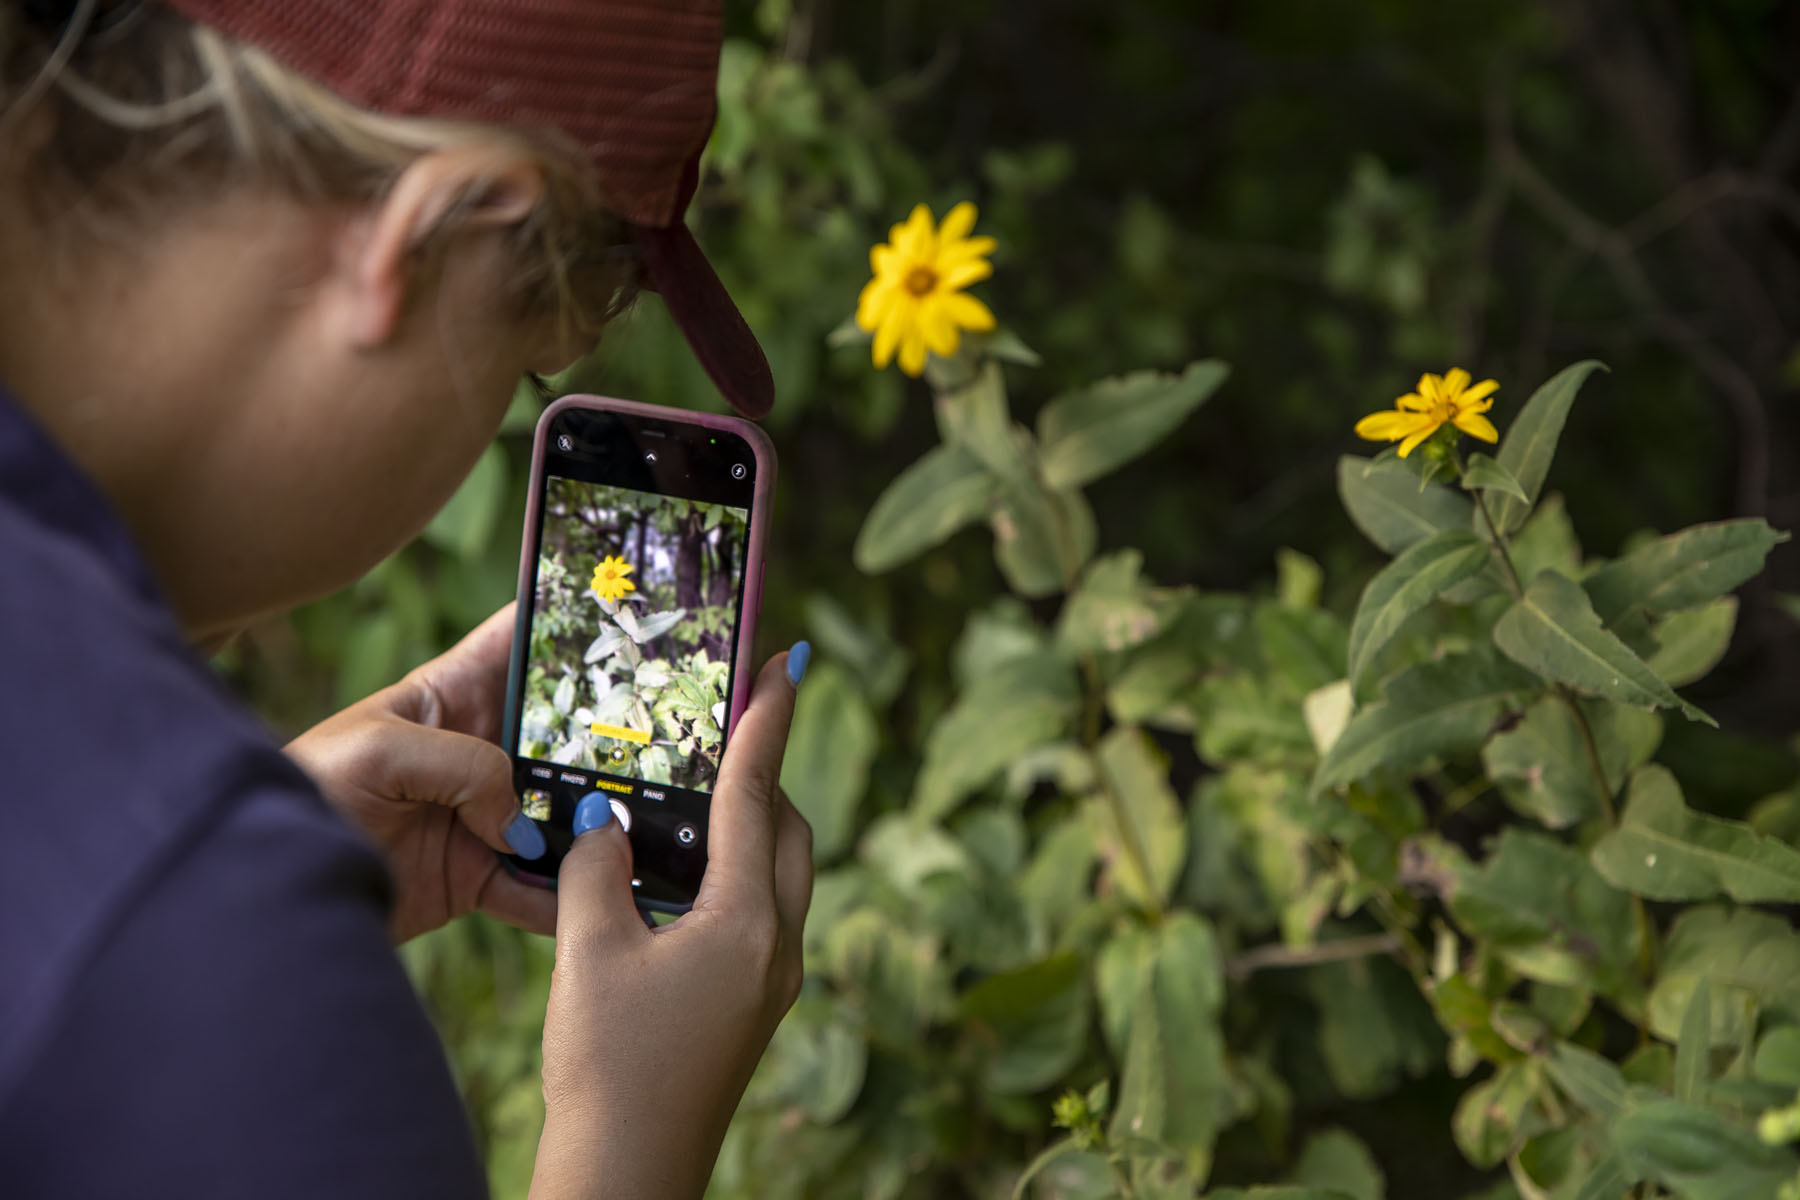
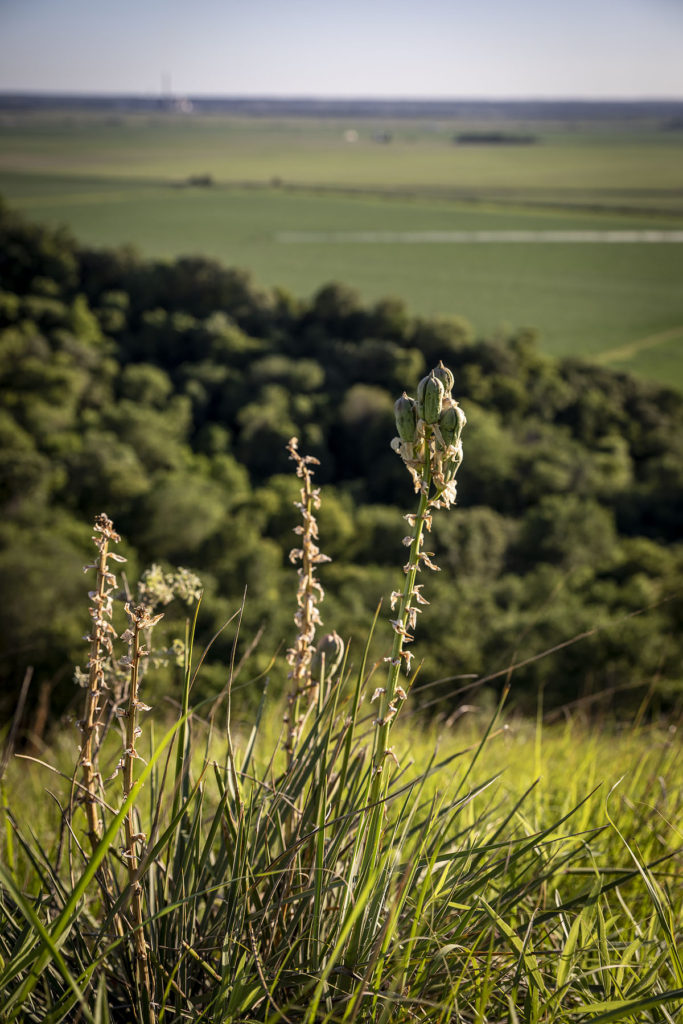
Look for the best place to stand
Taking a few steps to the left or right can have a big impact on how your photo is composed … but we’ve all been guilty of taking a quick shot from the first place we happen to stop and then just moving on. Challenge yourself to look critically at your first shot, and then move around and try to improve on it from a few other locations.
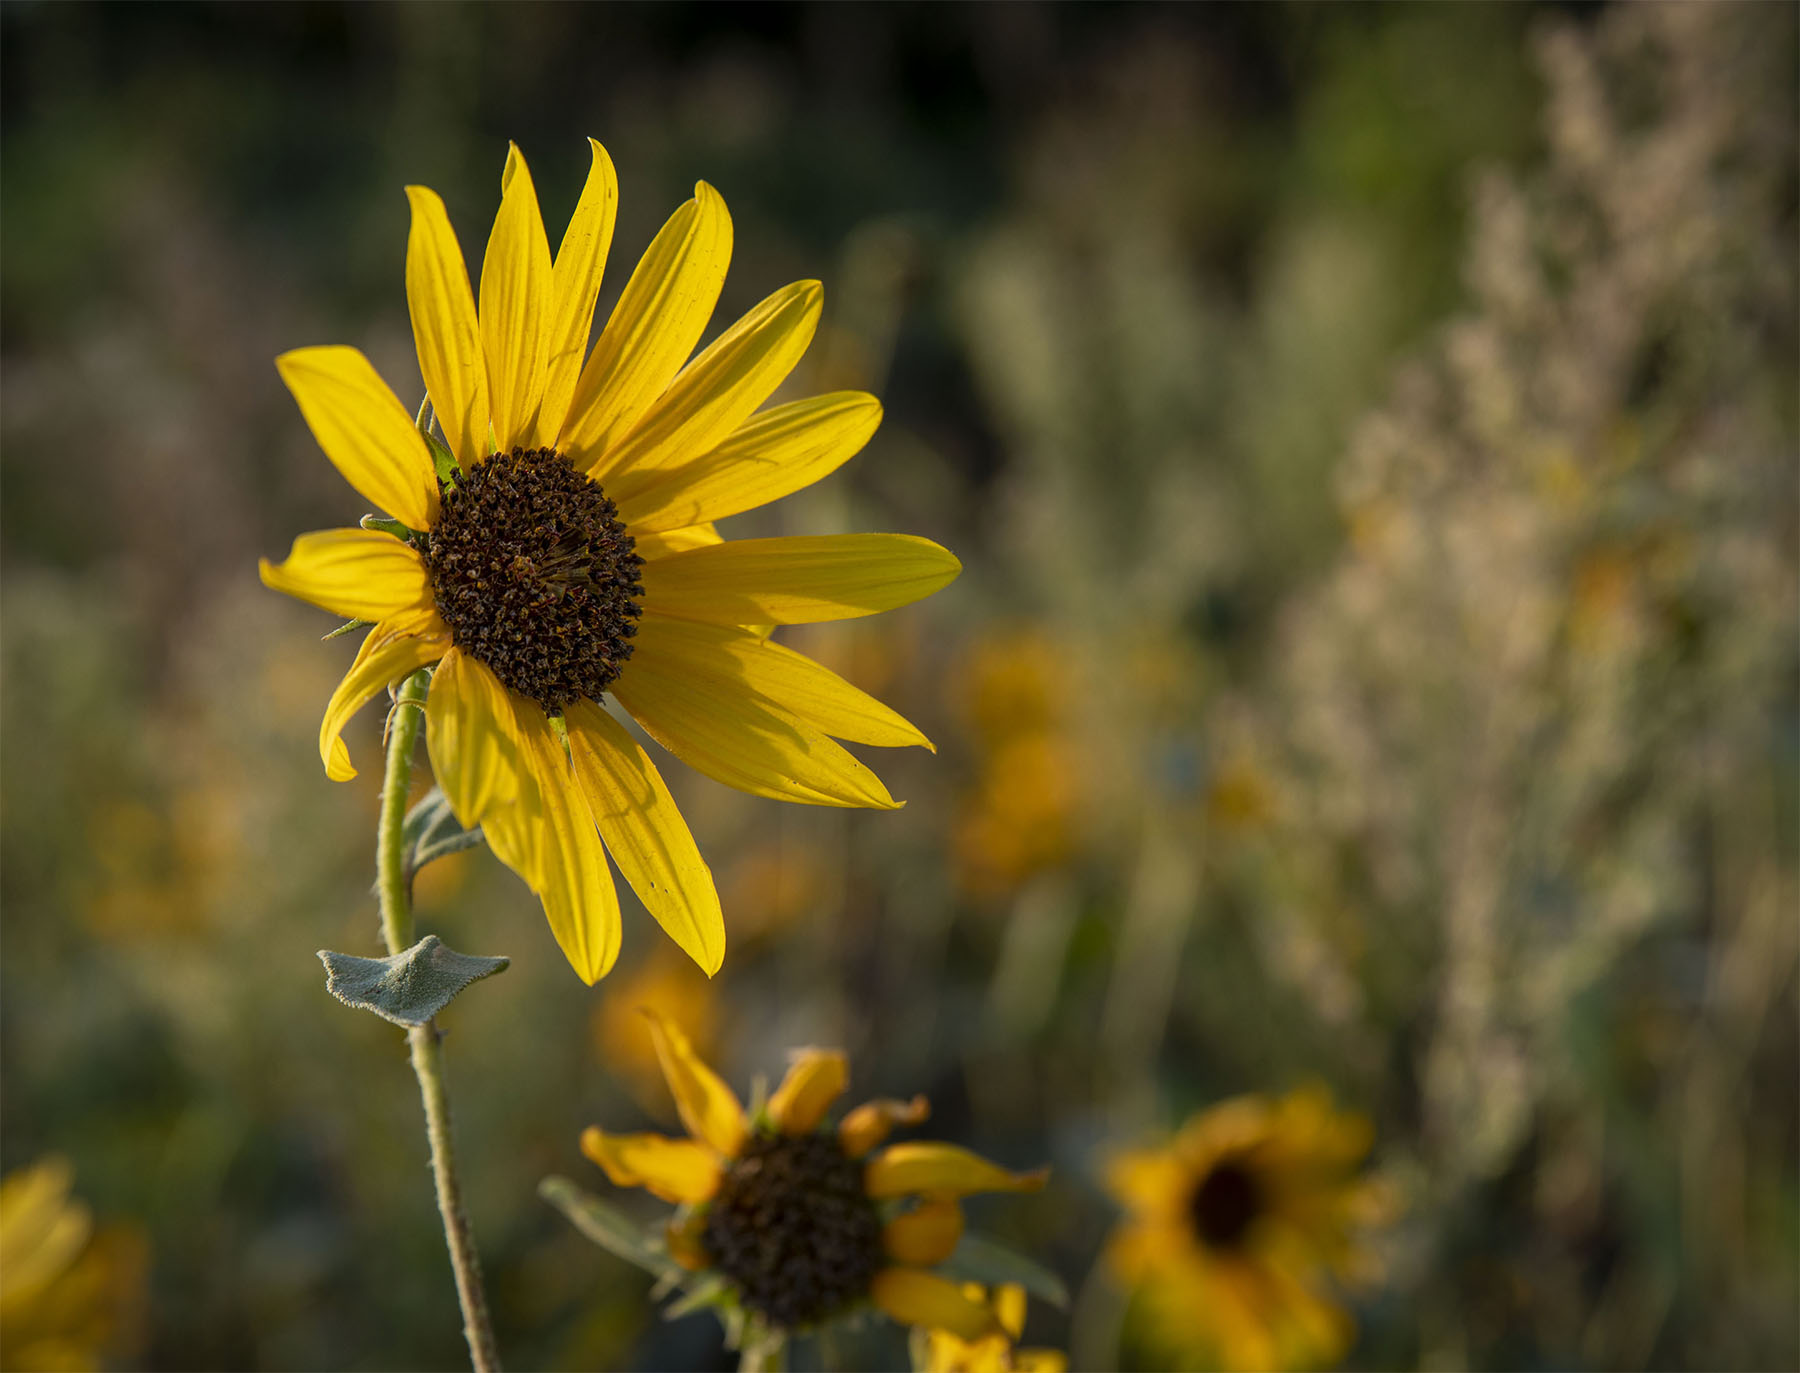
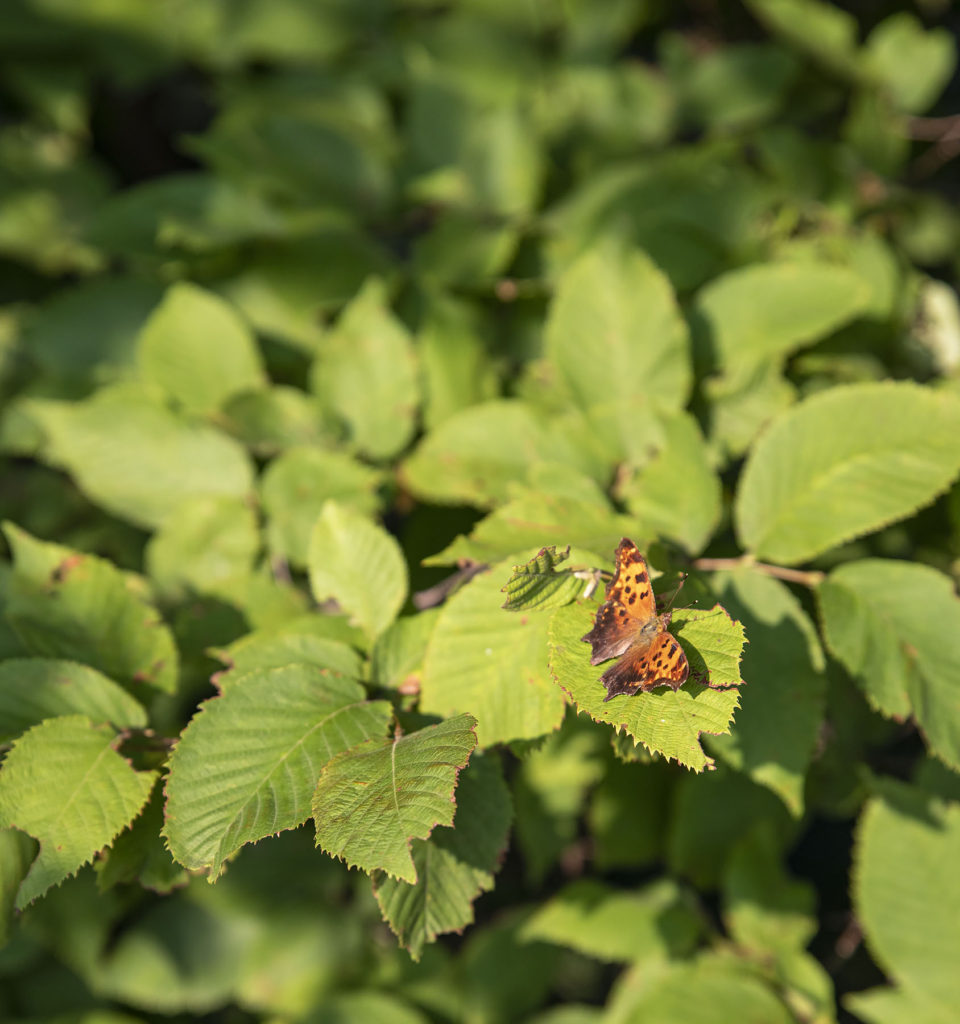
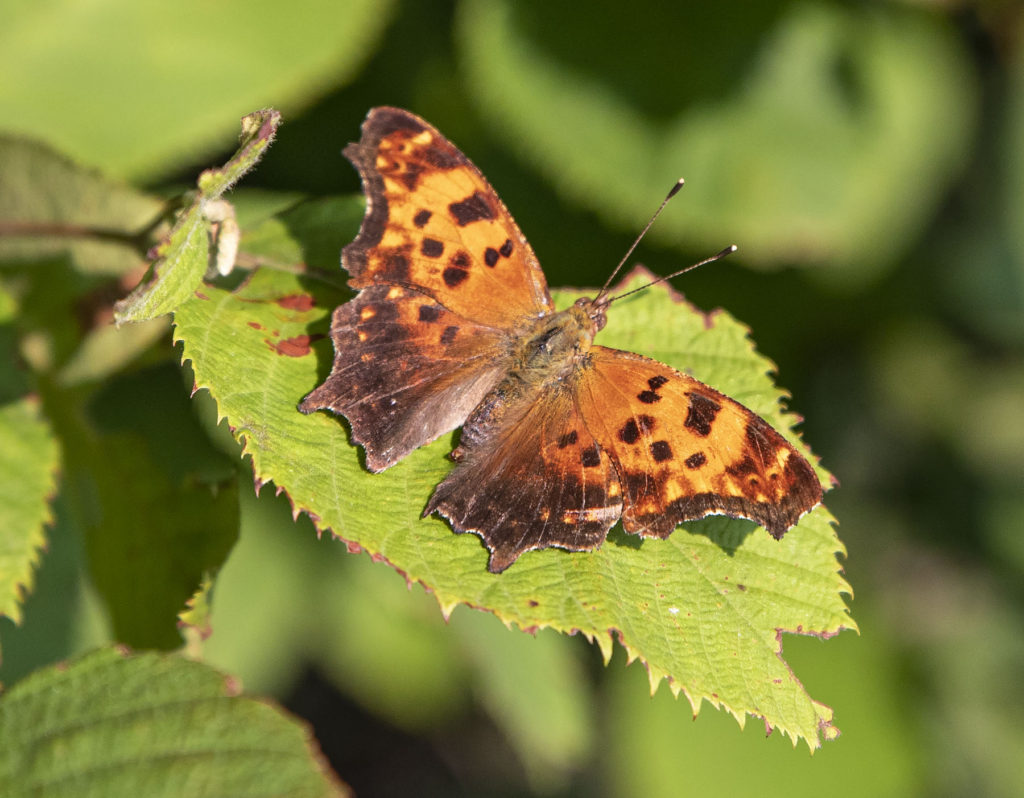
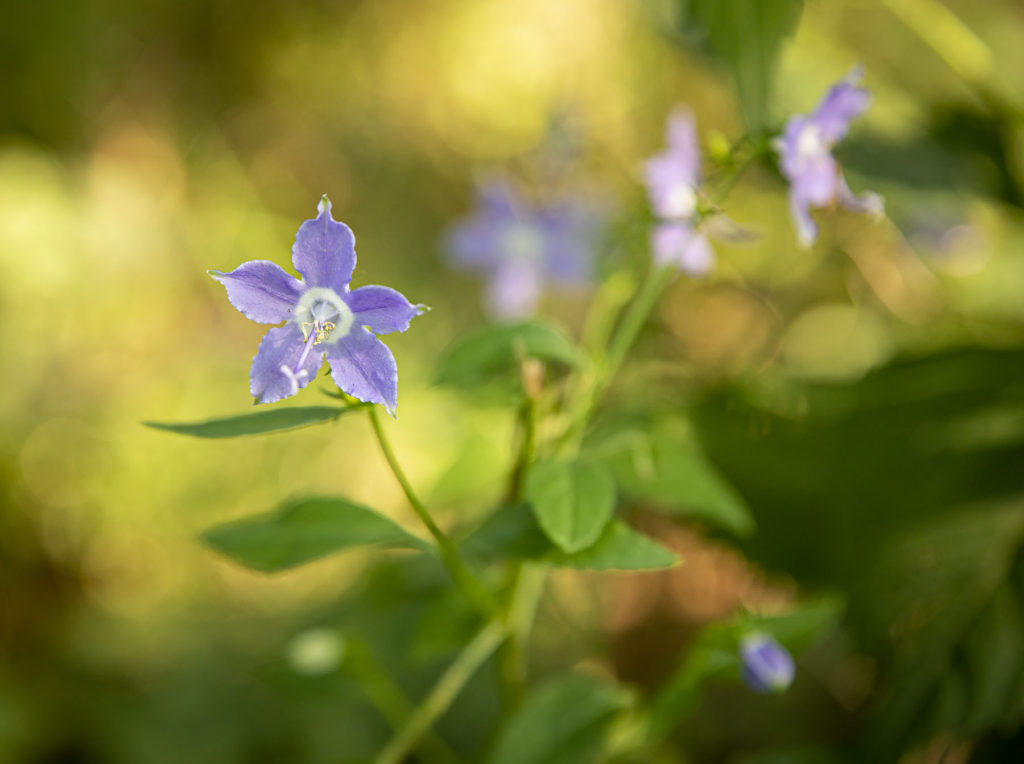
“Fill the frame” with your subject – and eliminate everything else
Whatever is important to you as the photographer – whatever you thought was cool and want to share with your viewer – should be the biggest thing in the photo. Try filling the entire
space of the photo with it, unless the real story of the photo is how the subject relates to its surroundings. Then include just enough of the surroundings to tell that story.
Compose your photo
Entire books have been written and careers built on the subject of composing photographs, which means arranging the elements of your subject in a pleasing or interesting way. Framing the subject, using the rule of thirds, using leading lines or composing with interesting elements in the foreground, midground and background are just a few of the ways to do this.
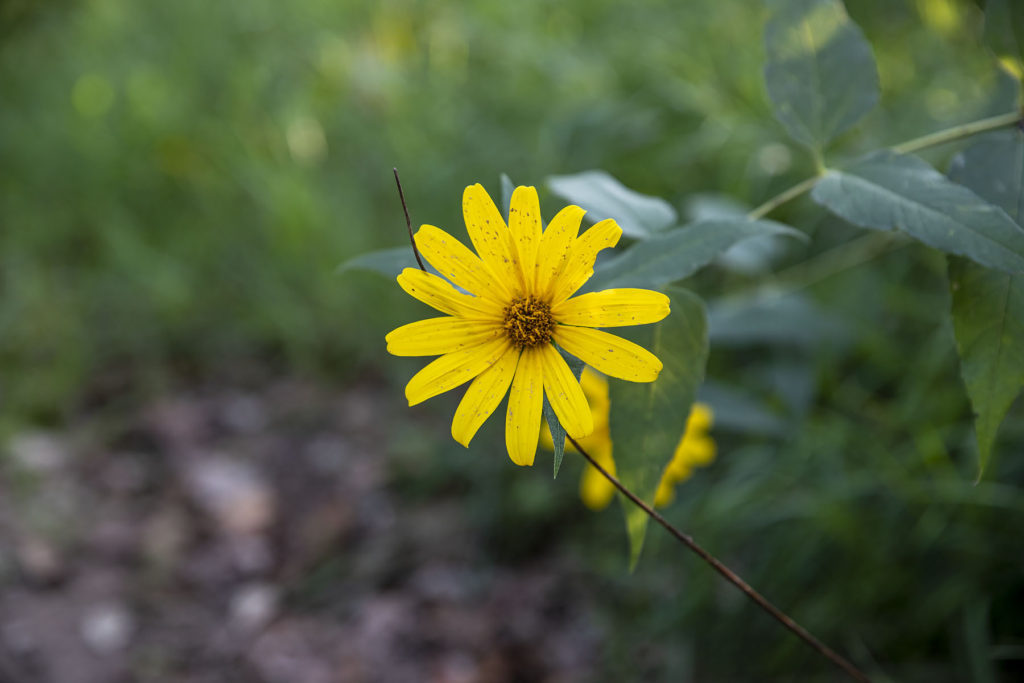
Get low
Oftentimes, photos taken from an adult’s standing height seem kind of boring because we grownups are used to seeing the world from that angle. Sometimes you can make a photo more interesting just by crouching or even lying down and showing your subject from an angle they don’t see every day. This is especially true for photos of plants, animals and insects. Get down on their level!
Want to print these pointers? Download a printable version right here!