On Thursday, August 19, I’ll be sharing some tips at Waubonsie State Park about how to make the most of your cell phone camera. Almost everyone carries one and they’re incredibly powerful, and the have a bunch of new features (along with some quirks) that we’ll discuss — and then we’ll explore the scenic Ridge Trail and try out some of those features and tricks in the wild!
Here’s a preview of the points I’ll cover:
Digital camera “film” is free!
Back in the day, film and developing were expensive and we all got in the habit of only taking a few photos. I’m happy to announce we don’t need to do that any longer! When you see something you want to capture in photos, take a bunch of photos — experiment with different angles, orientations, locations, and then just delete the photos you don’t like later. You’ll get many more “keepers” if you take more than one shot!
Get close and reveal rich details
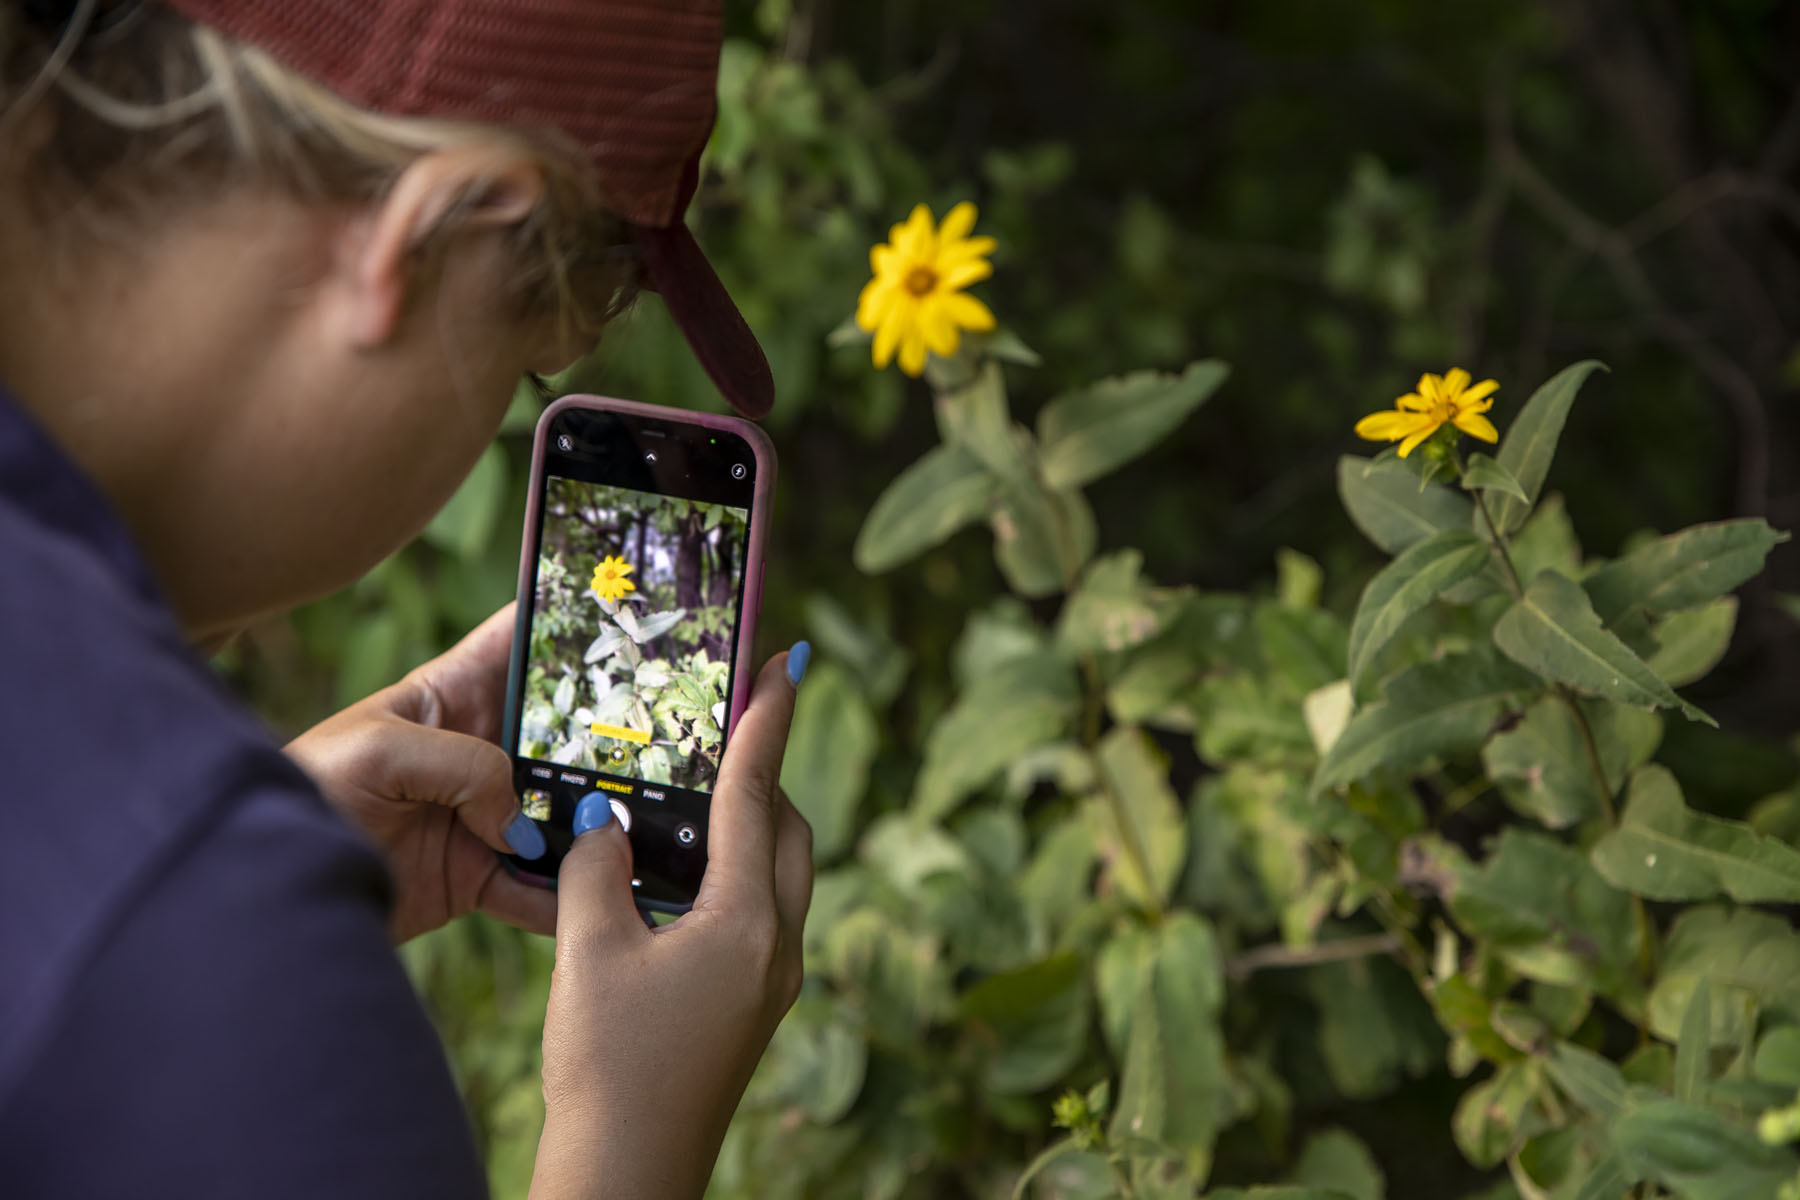
With most cell phone cameras, you can take photos only a few inches away from your subject — a great way to create interesting photos by showing details in your subject that most people don’t know about! Some cameras offer a Macro mode to enhance your close-up photo even further.

Blur the background
Often, you can focus a viewer’s attention on the subject of your photo by blurring the
background. There are several ways to do that: one is to get the camera lens very close to the subject, and another is to select Portrait Mode from your camera menu, which uses the camera software to select and blur the background.


Try out HDR and low-light shooting
New features have been introduced to make dark scenes, or the dark parts of scenes,
brighter. For those tools to work their best, hold the camera still for a few seconds while shooting those photos. You may want to turn those features off when taking photos during normal conditions for your camera to be more responsive.
Take advantage of easy ways to control focus and exposure
Tap the phone screen over the area of your photo that you want to focus on and most camera models will not only focus on that area but also set the exposure settings to correctly capture that subject. This is especially helpful when you’re shooting something close up, or a subject with a lot of contrast.


Portrait vs. landscape
Most folks are used to holding their phones in portrait orientation — vertically rather than horizontally — but don’t forget that many photo subjects actually work better in landscape orientation. Try composing your photos both ways and see what works best.
Zoom with your feet
Nearly all phones let you “zoom” your photo by pinching with your fingers on the screen, but often doing so will reduce your image quality. If you can, it’s better to zoom with your feet. Get closer and your image will likely look better.


Crop out what you don’t want
One secret to powerful photos is to crop out distractions, and it’s easy to crop using your camera’s photo editor. Make sure the only things left in your photo are the things you want people to see!
Creative filters
Cell phone cameras offer so many creative filters to add a creative spark to your photos! Nearly all models let you apply filters after you take the photo, but some models let you apply filters at the moment you take the photo. If you choose to apply them at the beginning, I suggest taking an additional photo of the scene without any filters so you can go back to the original version if you want to later.
Want to print these pointers? Download a printable version right here!